Saturday, January 7, 2012

I (ME) I Made a Rag Quilt!!!


Okay... I don't have kids, so let's take a moment to ooh and ahh over my furry children in all of their holiday wear cuteness!


This big guy weighs 16 pounds and was born in August of 2009...


This little girl weighs 8 pounds and was born in May of 2009 (yes BEFORE Charlie)!
I LOVE my pompoms!

Now then.... here's my Pinterest inspiration pin:


Now honestly, my first reaction was "HEARTS! OMG THERE ARE HEARTS! I MUST MAKE THIS!" Do you see any hearts....

Ummm.. NO! That's because I was lazy after cutting out all of those honkin squares with my regular heavy duty scissors and said screw sewing hearts on these suckers! (P.S. They are more pricey but I would recommend buying spring loaded scissors for your seam snipping too.... and maybe if you can outsmart a rotary cutter using that to cut the squares. I tried and couldn't get it to cut through two layers at a time so I said screw it...)

Basically... I wanted a twin size quilt so I looked up the size of a twin size quilt online... that wasn't as easy as it sounds. I ended up going to overstock.com and looking up a twin size quilt that I could buy and then figuring out the squares.

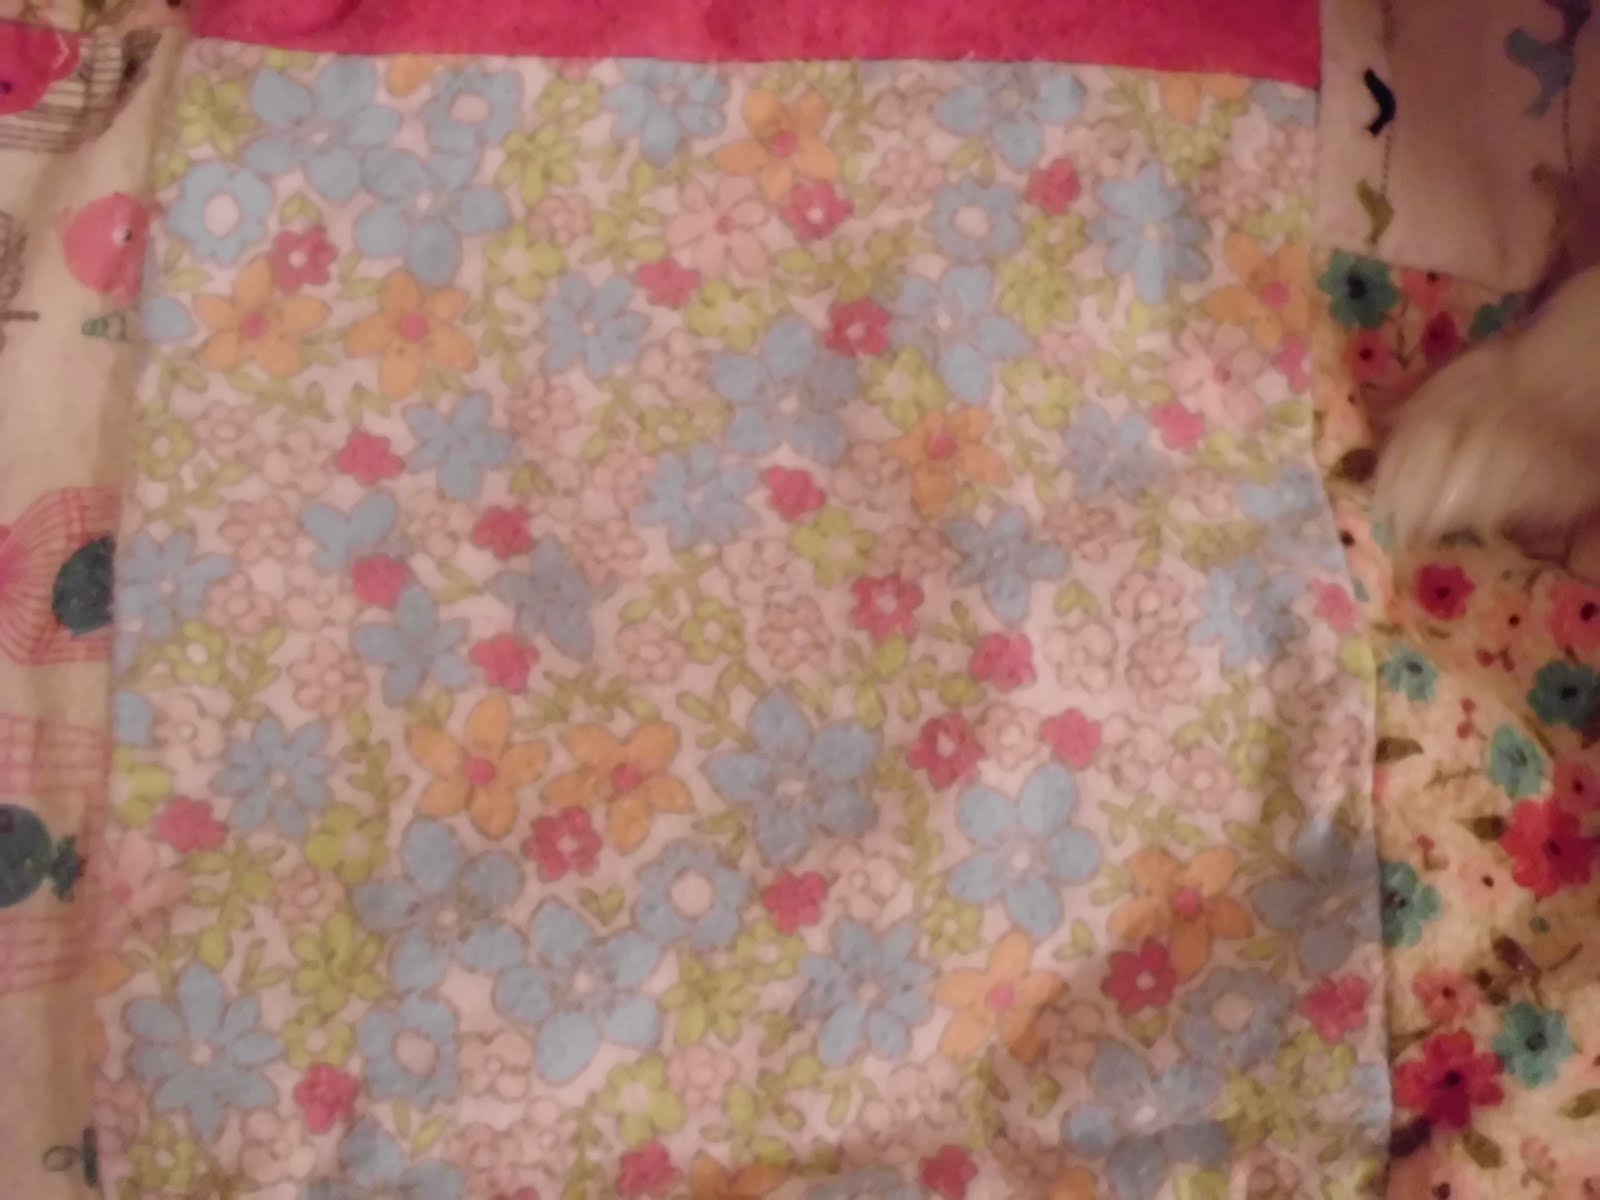
I hacked my squares very crookedly in 8 1/2 inch squares (to do this I took a piece of printer paper and folded one corner diagonally to get a perfect square and used that as a template because I'm too cheap to buy a cutting mat). I chose five patterns initially... the dark pink was going to be the inside batting... you know, if you want a three layer warm quilt. Ended up I needed more yardage sooo... goodbye batting. I also wanted another pattern, so that ended up being needed yardage too. In the end, I bought 3 yards of the dark pink, 2 yards of both bird prints, and one yard of the two flower prints, the aqua and red dots, and the aqua and white damask. One of those I think I actually got an extra 1/4 of a yard because it was a remnant.


I wanted my quilt to be roughly 90X70... I ended up with something like 64x88 because I did 8 rows across and 11 rows up and down. I would recommend increasing it to 9 across if you want a twin size quilt. I'd say buy a total of 12 yards of flannel. AND make sure you REALLY do 1/2 inch seams, otherwise after you wash your quilt you have to go back and restitch some places that come apart :(.

P.S. If you are like me with your hack job and one side of your quilt ends up totally wonky after you sew it all together you can just cut it to be straight, then when I hemmed that side I did a back stitch over each cross seam... if that makes sense?

  1. choose your patterns, cut out your squares, stack them so that you separate the patterns
  2. lay them out in a pattern or whatever way you want, with so many animals I just did row by row overlapping on a friend's kitchen table, front and back same pattern- right sides facing out like a sandwich
  3. sew one set to the next set side by side... continue for a whole row, throw that to the side and sew next row
  4. sew all of your rows together
  5. sew hem around the entire edge
  6. get to snipping!
  7. wash and dry... and empty the lint trap every 10-15 minutes....
  8. wash and dry again to get all the linties off
  9. read: http://quilting.about.com/od/quiltpatternsprojects/ig/Free-Quilt-Patterns/Easy-Rag-Quilt-Pattern.htm if I have thoroughly confused you
  10. or :
aqua and red dot


I had to have this fabric because it closely resembles my Liberty of London scarf and wallet from Target last year...
(Okay... maybe not so much... but sorta... kinda...)


Okay... we really laughed at this print first because everything was mixed in with the nursery prints and we totally thought these were big headed babies in cages at first! They are birds I swear!


I LOVE it! AND my little pompoms and kitties too- one of them is always in my shots!

Sunday, January 1, 2012

Goals for 2012

So... this gets pretty deep and I actually let it sit in the drafts for the last week debating about whether or not to post it. I know a lot of people blog just to share crafts or funny stories, but let's be realistic here. My blog is titled OCD for more reasons than one and sometimes life gets in the way.

I've had a really rough time lately, overly emotional, unhappy, gloomy- it happens.

I have anxiety issues, OCD, and once a month a rough week of depression. I deal with it, I smile, I laugh, I love my friends and family.

Sometimes I get in a hole and have a hard time getting out.


Right now I look back and try to figure out when the last time was that I was really and truly happy. It comes and goes in spurts, but when was I last REALLY happy?

Instead I feel like a failure on an almost daily basis. It stems from feeling like I was never good enough growing up. From things that are said to me about my job. From the negative self thoughts that echo in my head as I look at everyone around me and wonder if I will ever find someone to spend the rest of my life with.


Now, I speak very openly with my doctor and I am a thousand times better than I was back in 2005 when I began having panic attacks and sitting in the middle of my kitchen floor crying uncontrollably. I had reasons for feeling so hopeless and stressed. They are issues I still deal with on a daily basis.

My favorite color is pink and I love all things girly: ruffles, sparkles, glitter, bows. I love fuzzy four legged friends. I smile and laugh and enjoy all of the time I get to spend with others.

Then I come home and spend time alone and have no one to turn to. Then things get a little bit darker in my mind, heart, and body.

Source: etsy.com via Amy on Pinterest


My goals for 2012 are to work to make myself happy. To choose to do things that could help me be happier.

Get better at keeping a clean and organized house.

Do the dishes before they pile all over the counter.

Make some home improvements.

I want to have a cleaner house so I can have a calmer mind and have a calmer mind so I can have a happier spirit.

I keep many things inside and I struggle with how I feel when I get down and depressed. I struggle with hearing others to tell me to get over it and cheer up, being told that if I want something bad enough than I can get it. There are truly some things beyond our control.


I really hope 2012 gets better than the past, but I need to get the past out of my head and into the open so that others who may be feeling the same way know they are not alone.


Friday, December 30, 2011

A Few of My Favorite Things: Part 2

So... last year I did a post on my fave beauty products... well, we've made some changes to better products! (No clue why I talk about myself in the plural... maybe it's the four pets). ANYWAY- I also needed to post something because it's been a while...

Bobbi Brown Long Wear Metallic Cream Eyeshadow
Shade: Antique Gold (silver with gold glittery flecks)
Cost: $15 at an outlet store
Verdict: No primer needed, just put some pressed powder on your lids and then smooth this on with a brush... it lasts ALL day with very minimal creasing, most times NONE at all.


Hard Candy Glossaholic Lipgloss
Shade: Fireball
Cost: $5 at Walmart
Verdict: I really like the sparkly red shade that is calm enough for my super pale skin tone, but I'm a lip gloss addict...


Burt's Bees Lipbalm
Just the original version... peppermint and something
Cost: $3 and change a piece, or two packs are $5 at CVS
Verdict: LOVE IT- WILL NEVER USE ANOTHER LIP BALM IN MY LIFE


I was using NYC Stay Matte foundation... but they didn't really have a shade pale enough to match my skin and I got super irritated with the masking lines....

Hard Candy Just Face It: Primer, Concealer, Foundation, Powder in one
Shade: as pale as it gets
Cost: $6-7 at Walmart
Verdict: Longer lasting that my Mary Kay foundation, half the price, great coverage... LOVE


I got a Burt's Bees mini sample box thing on clearance at Target and this was in it... I LOVE the way it makes my face feel cool and tingly.
Price: $8 at Walmart


In other news... I've added another furry child to my family...

She's an actual Pomeranian sized Pomeranian at 8 pounds, unlike my dear Charlie who is a sturdy 16 pounds. Her name is Macey Noelle and she is three months older than Charlie. Both will be three in 2012! She's very timid, but taking Charlie's lead on becoming more spunky. She is always wearing something pink and is glued to my side 24/7. I love her to pieces and my Charlie appreciates the playmate most of the time.

I like to call them The Pomeranians....
Like The Kardashians... but furrier... and smaller, paler.... more Pomeranianlike :P


Friday, December 2, 2011

Laughter


I have no words for how hard this makes me laugh...
the whites of the cat's eyes...
the pure genius of the thought...
the fact that the dog steals poop quicker than i do in this house.

Wednesday, November 30, 2011

Latest Crush

I am in LOVE with these. Wouldn't they be LOVELY and AMAZING together?

Just sayin'.

Thursday, November 24, 2011

15% OFF SHOP DISCOUNT!

ENTER CODE "BLACKFRIDAY15" IN THE SHOP TO GET 15% OFF YOUR PURCHASE!


Good now through Saturday at noon!
ENTER CODE "BLACKFRIDAY15" IN THE SHOP TO GET 15% OFF YOUR PURCHASE!


Good now through Saturday at noon!

Saturday, November 5, 2011

Credit Giveaway

Alright, I'm playing a game on Facebook!

Anyone who gets 5 people to like the shop page and tell me the name of the person who referred them get's an entry for a $10 shop credit with free shipping! Any extra like after five people is another entry! Going until 11/11/11.

P.S. The shop prices are super cheap so you are sure to find something you like!

Show some love!!! Please? :)

Sunday, October 16, 2011

Covered Bridge Festival FUN!

I took a much needed break and spent the day shopping one of the many covered bridge festivals in Indiana. We hit up this one every year, it's in Mansfield, Indiana near Brazil.

It's like... an hour+ drive....

Hellacious TRAFFIC in STAND STILL BUMPER TO BUMPER lines through the whole town...

But...

I go once....
or
twice...
or
three times...

Don't judge... it's addicting and super fun... see pic below!

I came home today with a blown glass hello kitty pendant ($2.99), a pandora bracelet with six charms ($10) (bee, elephant, turtle, apple, angel, and "born to shop" bag), and four nail polishes ($5)

I also devoured:
1 apple dumpling from Heaven with ice cream ($5)
1 grilled ham and cheese sandwich that everyone is in search of ($7)
2 cans of soda ($1.75)
1 bottle of water ($1)

AND

THE
WORLD'S
MOST
AMAZING
MINI-DONUTS!!!
for $4

There were like 2 dozen of those melt in your mouth, cinnamon sugar, elephant ear like heavenly morsels in my bag... and they are all gone... with no picture...

Guess that's another reason for visit number 2!!!

And the fact that I must own the $25 white hat in the above pic that I passed up today... as well as a pair of rhinestone Hello Kitty earrings and a clip in pink hair extension...

Any of you ever been to a covered bridge festival? Thoughts? Recommendations? Tagalongs?
:)

Saturday, October 15, 2011

Creative Practicing: A Grad School Project

This is what you get with 12+ hours of creative practicing:
It involved four hours with a friend to make the rolled roses, wreath, bows and ruffled flowers.
An hour baking a cake.
Three hours making a clutch purse.
Two hours painting and mod podging.
Another hour finishing the painting.
An hour of recipe scrapbooking.
AND another hour + to make the corkboard and mind jar!!!!
WHEW!

Fall wreath with new rolled felt roses (cut in a scalloped pattern instead of just a spiral):

Recipe Scrapbook:


Painting:
(I painted one color band at a time and then dumped the glitter on while the paint was wet. Then added words cut from magazines that are meaningful to me, hope to add more words!)

Finally successful with making felt bows for hair clips!
AND
Ruffled jersey flowers for brooches:

Wine Corkboard
(I used wine corks from a friend that are REAL cork. First though I traced the back of the frame on a piece of foam board, then glued burlap over the foam board, glued all that onto the back of the frame and then glued down the corks- going to add a big bow to the top since it's not centered!)
AND
Mind Jar- for relaxing and calming down in time out
(You fill a container with 2/3 warm water, 1/3 gel school glue, and then a tablespoon of glitter. I also added some food coloring to get a yellow color water. For my kiddos I'll be remaking this in a plastic water bottle!)

Ruffled Zipper Wristlet Clutch!!!
(So excited about this!!! First time I've ever sewn in a zipper with my sewing machine! And used fusible fleece for the first time EVER! Also added the removable wrist strap! I LOVE it!)

Mod Podge Cigar Box
(I used a piece of wood from the inside of the box to cover the writing on the original lid, then I used my pedicure tool to carve the heart and the word joy into the top like a tree carving :) ).

Rolled Roses:
(Tried to make the little roses by making a knot and then gluing it down to felt and gluing down as I rolled... not sure how I feel about the finished product. It's thinner than my normal rolled roses, but would be nice for headbands. The process was much quicker than my normal roll, fold, and glue method.)
Chocolate Pudding Cake:
(Pinned on Pinterest and made for my mom's birthday. It was a big hit and involved NO eggs!!! That part surprised me!)


Sunday, October 9, 2011

Creative Practicing: Hour One- Devise a Plan

I've spent an hour on pinterest (probably more than an hour, but let's not go into my addiction) and have the following picked out as projects to do for my 12 hours of creative practicing:


(obsessed with wanting to make a pennant banner)


Paint something


Paint some beads- idea via The Idea Room blog- linked through pinterest


Source: joann.com via Amy on Pinterest

Make a clutch


Now to get to crafting!

Saturday, October 1, 2011

Grad School: Development of Creative Thinking

So I'm going to school to get my Master's in Educational Psychology with a focus on Gifted Education.

I'm taking two courses right now, one of which is an eight weeker that ends on the 17th. I am preparing to start one of my final assignments: Creative Practicing.

Assignment: Spend at least 12 hours over a period of time doing something in a new way or something differently.

My take: spend at least an hour a day for the next two weeks creating one new thing each day and then documenting that journey on this little blog. Goal? Do some of those things I've starred on Google Reader and pinned on Pinterest and maybe whip up some new items for the Etsy Shop.

Follow along with me :)

Tuesday, September 13, 2011

What to Do...

School started back over a month ago...
Since that time I have gained 10 pounds (seriously).
Went from sleeping 10-12 hours to 4-6 (yes I still sleep like a crazy teenager).
I still haven't finished washing all of the dishes (ridiculous yes).

Now I am the only resource teacher for 29 to 32 students with special needs.
Given they are in their classrooms so I don't have everyone in my room, but I'm definitely stretched to the second.


I feel as though I've lost myself.
I've lost all time for crafting and creating.
I almost feel numb some days.

I've pondered closing my etsy shop.
I've wondered what kind of new designs I could add.
Felt as though I've failed at keeping it going and getting it to it's full potential.
(There are mountains of coordinating fabrics that I bought to make rolled roses for stuff for the shop that haven't been touched.)

Source: None via Amy on Pinterest


I know we all go through times like this, or at least I'm told.

So now I've stolen a quiet moment to ramble on here.
I also stole a couple moments a few nights ago to play around with photoscape and paint.net on the computer.

Source: etsy.com via Amy on Pinterest


Now I'm preparing for another late night of school work.
Good news is that they are working on putting another teacher with me half days to help out at the school...

Until then... I'll be around...
Pinteresting an imaginary vacation and craft wishes!

Source: joann.com via Amy on Pinterest

Saturday, July 30, 2011

Chiffon Flower Headband

Okay... so for some reason... I make this face when I'm thinking about the outfit I have on or anything else related to a pic and I had to share it...


Now!!! Here's the new headband I made today!

I'm loving it and thinking these babies need to hit the shop soon!

I suck at taking pictures during the process... so here's what I did:
  1. Buy a foot of chiffon from Joann's
  2. Cut an inch wide strip from the longest part of the fabric
  3. Measure out the strip and cut it into three equal length strips
  4. By hand I sewed a regular umm... long stitch? running stitch? who knows... it's just what you do when you want to get a ruffle...
  5. Gather the fabric as you go, then knot off one end when you are at the end and have gathered it as much as you want
  6. Cut out a felt circle about the size of a half dollar and bust out the hot glue gun
  7. Starting at the end glue the ruffle down, work in a spiral towards the center... if your center looks wonky just add an extra dot of glue and smoosh the flower in your hands... it makes it look better believe it or not!
  8. After you make three... glue them on a metal headband and then cut out three more felt circles the same size as previously and glue those over the back to secure them even more.
  9. Now you can rock out your awesome headband... or just wait a few days and check out my shop on the right to buy one. :)
I'm linking up!!!
Featured At Serenity Now

Beloved Sign

I made this sign out of an old weathered and beat up piece of plywood I found in my garage...

First I sanded it all over to try to get off any ickiness and smooth it out...
Found some black speckles that looked like possible mold so I sanded it all off and then covered the whole thing in Kilz primer.

Followed by a couple coats of Aqua colored spray paint.
(I swear by Rustoleum's Painter's Touch Ultra Cover... it works better than ANYTHING else! It's the same color I used to refinish my kitchen table which will be revealed sooner rather than later I hope!)
Anyway, after the spray paint I used a paint brush and pale yellow acrylic paint and painted the word BELOVED because it's the meaning of my name. I also sorta didn't measure it so I filled the empty space next to the B by using a foam heart shaped stamp from Hobby Lobby and some pink paint. When I was all done I sanded over it lightly with a sanding block and then rubbed on some Valspar antiquing glaze in Asphaltum.

This pic is a glimpse at my typical photo taking fiascos...
See dog in motion?

This is my next shot... figure B... dog in my lap

Next try... (he felt like he HAD to be in the picture apparently)

Close up of glazing:

This will eventually hang over my headboard... I just forgot to buy nails today! OOPS!

I'm linking up!!!
Weekend Bloggy Reading

Popular Posts